Overview
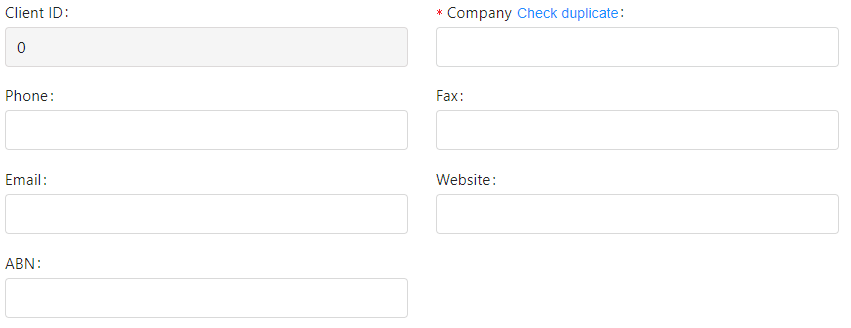
This page goes through where to create a new Client account and what details should be filled in upon the creation of the account (including fields with a red asterisk that are mandatory and must be filled in). Once a client has been added into the service, you can assign case managers to the client that they work for and manage their business units (allows case managers to view cases from each other’s accounts).
Where to Create a New Client
There are two places where a new Client can be created:
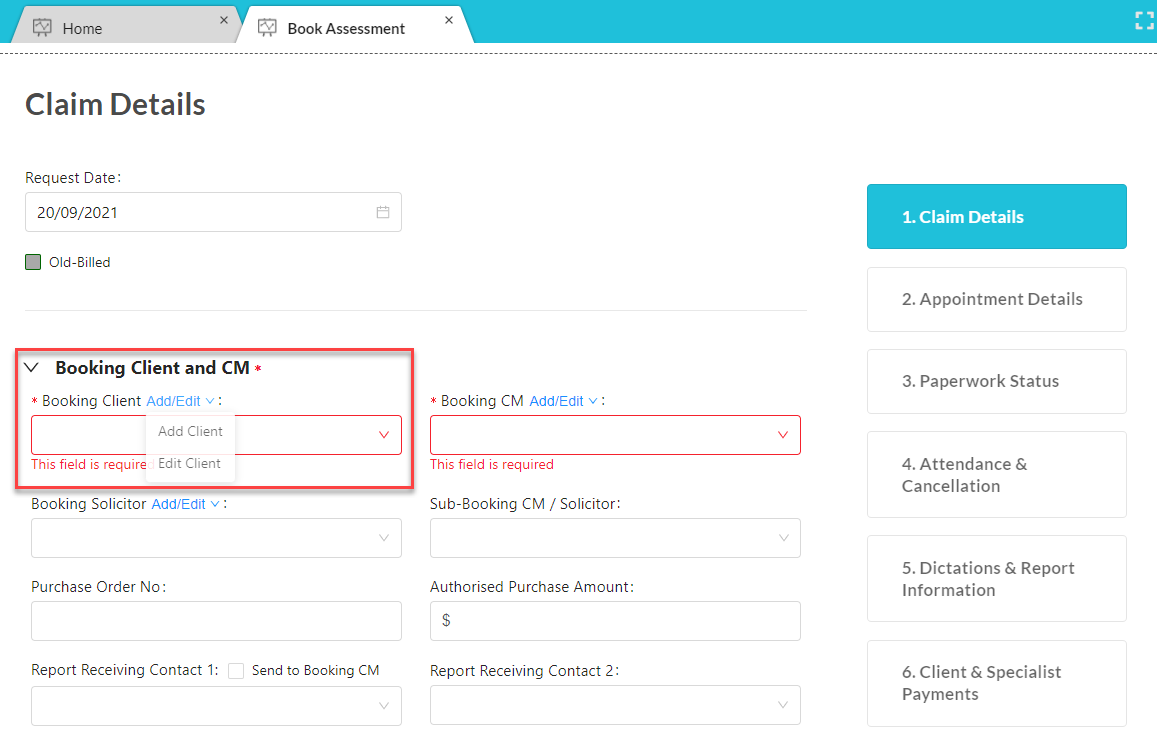
Go to “Booking Client and CM” in Section 1.
Next to “Booking Client”, Hover over Add/Edit and click “Add Client”.
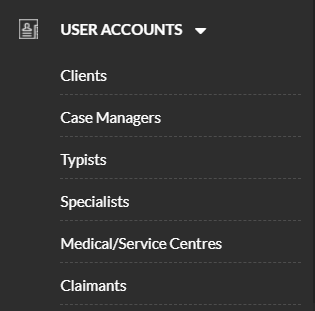
Go to User Accounts -> Clients through the sidebar.
Click “Add New Client”.

Details to Add for a Client Account
Fill in as much necessary information as you can. To switch between sections, click on the corresponding blue box on the right side of the page. Section 1. General Information contain fields with a red asterisk that must be filled in to create a new client.
Notable details of a client to add include:

- General details about the client including contact information
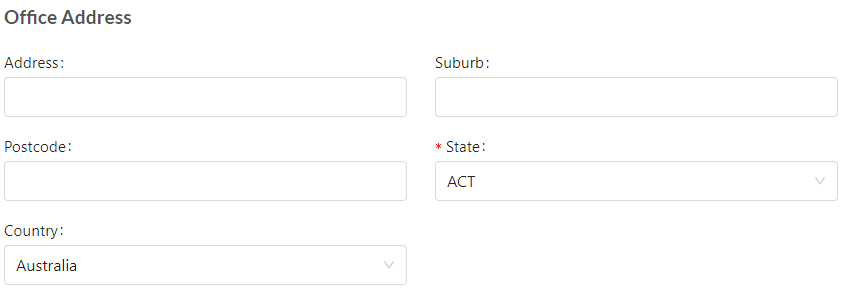
- Office & Mailing Address
- State is Mandatory
- Client’s Business Type


- Email(s) where notifications are sent to in regards to:
- Accounting
- Report Receiving (in addition to the booking CM)
- Booking Confirmations
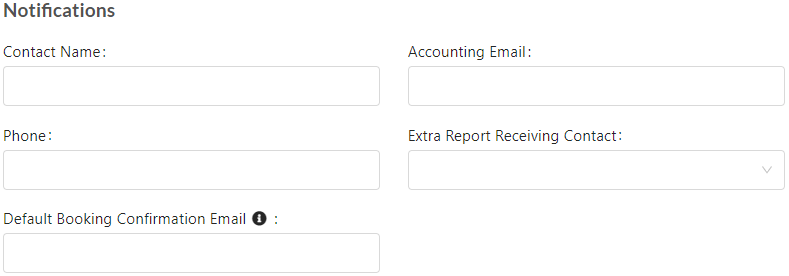
- Selection of which notification emails the client wants to receive


- Details of Approved Disbursement Funding that’s been agreed upon with its details and documents
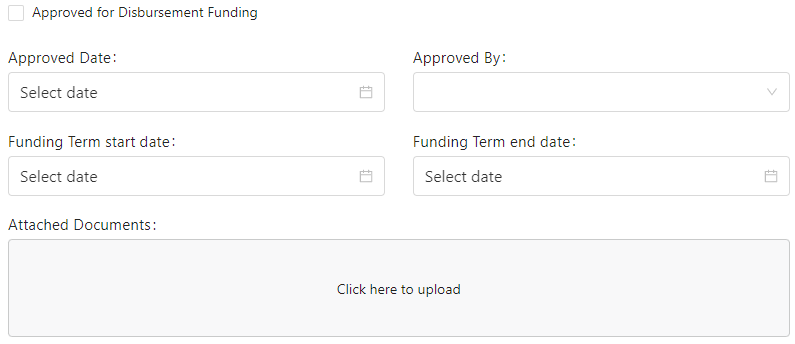
When all details have been added. Click “Save” to update the new client into the service.

If you created the new client during case creation, a pop-up will appear to check if you want to add the newly created client into the case. Click “Yes” to continue.


